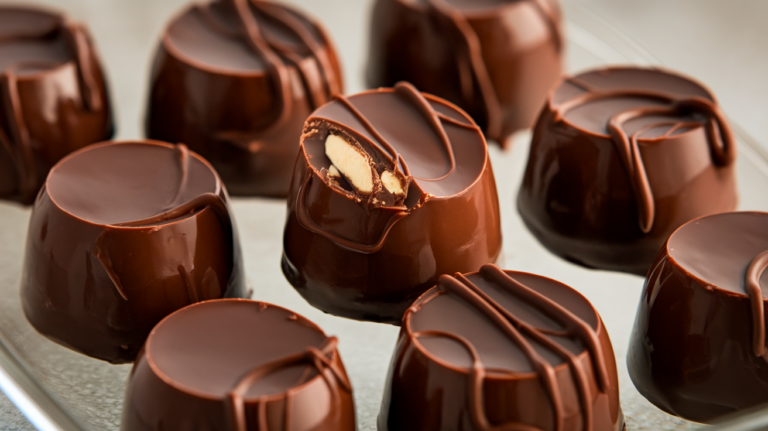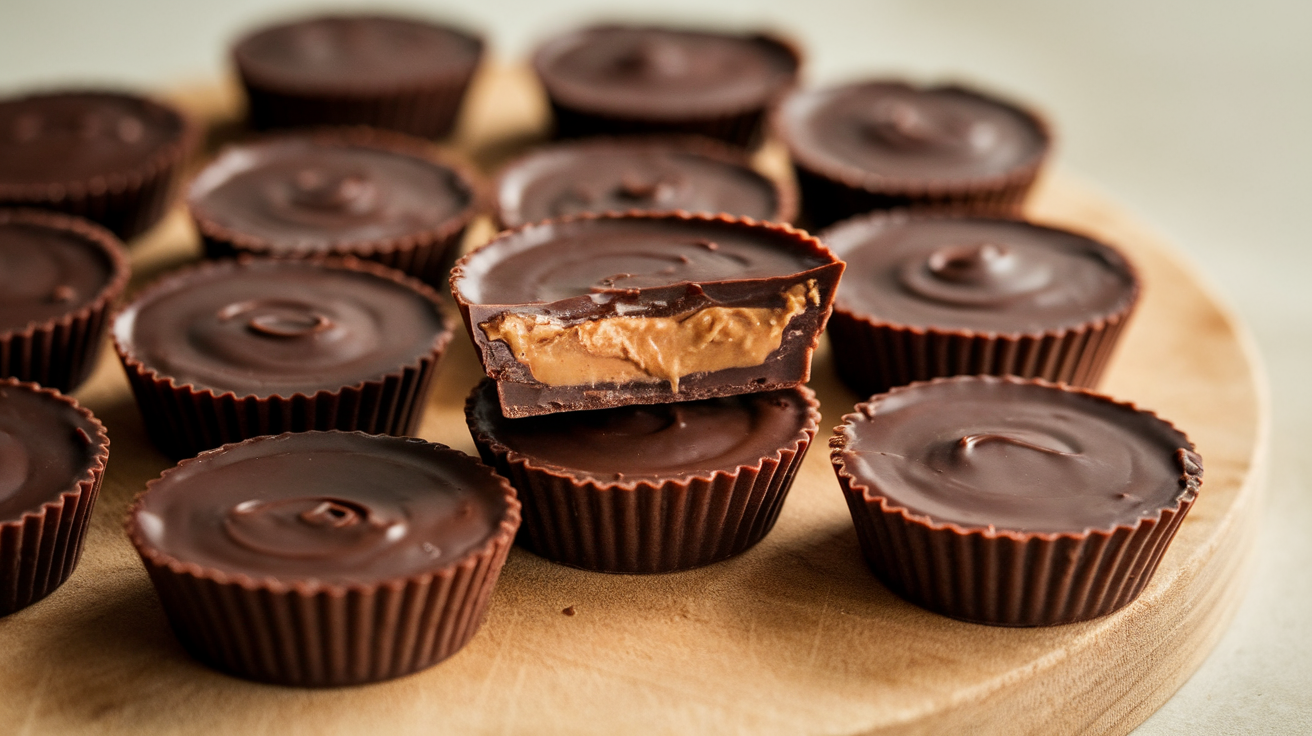
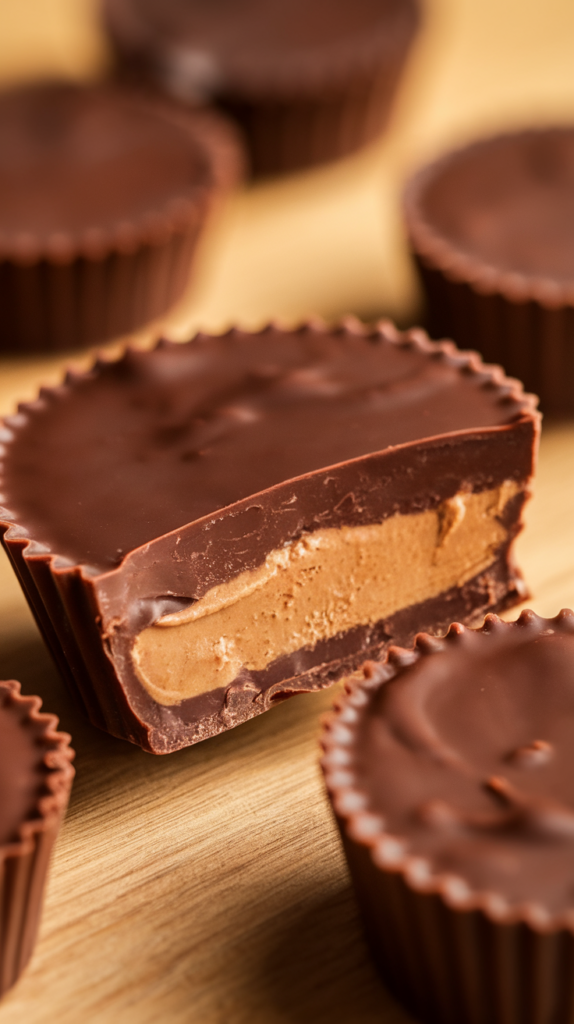
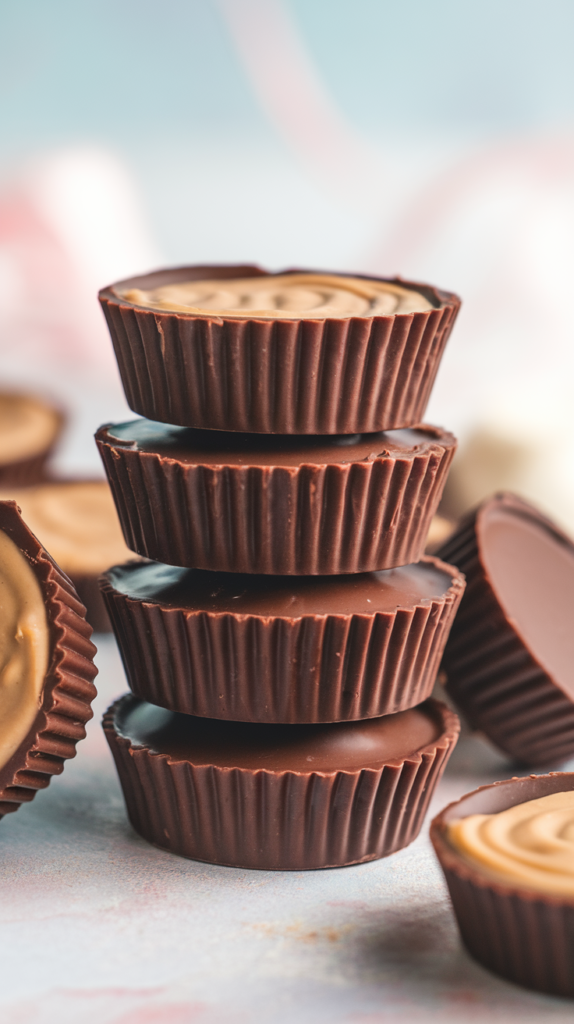
Vegan Chocolate Peanut Butter Cups
So you love peanut butter + chocolate but also want to stay vegan. Lucky for you, Vegan Chocolate Peanut Butter Cups exist. They’re rich, creamy, and satisfy your candy cravings without any dairy or guilt. Plus, they’re ridiculously easy to make at home—way better than store-bought.
Perfect for snack attacks, dessert, or pretending you’re on a fancy baking show.
Why This Recipe Is Awesome
Let’s break it down:
- Totally vegan – No dairy, no eggs, no weird substitutes.
- No-bake magic – Literally mix, layer, chill, done.
- Portion-controlled – One cup = one indulgence (or five, if you’re me).
- Customizable – Dark chocolate, peanut butter swirl, or nut toppings.
- Gift-worthy – Wrap them up and look like a dessert genius.
Also, peanut butter + chocolate = universally approved happiness. Fact.
Ingredients You’ll Need
Chocolate Layer
- Vegan dark chocolate chips – 1 cup
- Coconut oil – 1 tsp (for smooth melting)
Peanut Butter Filling
- Natural peanut butter – ½ cup (creamy, no sugar added)
- Maple syrup – 2 tbsp (or adjust to taste)
- Vanilla extract – ½ tsp
- Pinch of salt – Enhances flavor
Optional extras:
- Crushed peanuts for topping
- Sea salt sprinkle
- Vegan chocolate drizzle
Pro tip: Use silicone cupcake liners or mini muffin tin for perfect shapes.
Step-by-Step Instructions
- Prep the liners.
Place silicone liners in a mini muffin tray. Set aside. - Melt the chocolate.
Combine chocolate chips and coconut oil in a bowl. Melt in the microwave or over a double boiler until smooth. - Create the bottom layer.
Spoon a little melted chocolate into each liner, just enough to cover the bottom. Freeze 5–10 minutes to set. - Make the peanut butter filling.
Mix peanut butter, maple syrup, vanilla, and salt until smooth. - Add the filling.
Spoon peanut butter mixture on top of set chocolate, leaving a little space for the top layer. - Top with chocolate.
Pour remaining melted chocolate over peanut butter, smoothing gently. Optional: sprinkle crushed peanuts or sea salt. - Chill.
Refrigerate for at least 1 hour until fully set. - Serve & enjoy.
Pop them out of liners and enjoy—try not to eat all at once (or do, no judgment).
Common Mistakes to Avoid
- Skipping the chill between layers.
Chocolate + peanut butter = messy chaos. Chill, always. - Overheating chocolate.
Low heat or microwave in 20-second bursts. Burnt chocolate = sad face. - Using runny peanut butter.
Too runny = filling spills out. Scoop carefully. - Not sealing the top layer properly.
Leave gaps and peanut butter will ooze everywhere.
Alternatives & Substitutions
- Nut-free: Use sunflower seed butter.
- Sugar-free: Use sugar-free chocolate and sweetener.
- Flavor twist: Add a pinch of cinnamon, espresso powder, or orange zest to peanut butter.
- Extra crunch: Add crushed pretzels or toasted coconut.
- Mini dessert hack: Make them in silicone molds for fun shapes.
IMO, sea salt on top elevates these to gourmet level.
FAQ
Can I freeze them?
Yes! Freeze for up to a month—perfect for long-term snacking.
How long do they last in the fridge?
About 1 week, if they survive that long.
Can I use crunchy peanut butter?
Sure, but expect some texture in the filling.
Can I make them chocolate-only?
Yes, skip the peanut butter layer entirely. Chocolate lovers rejoice.
Are these healthy?
They’re vegan and homemade, but still chocolate + peanut butter—treat accordingly.
Do I need silicone liners?
They make life easier, but paper liners or a greased mini muffin tin works too.
Final Thoughts
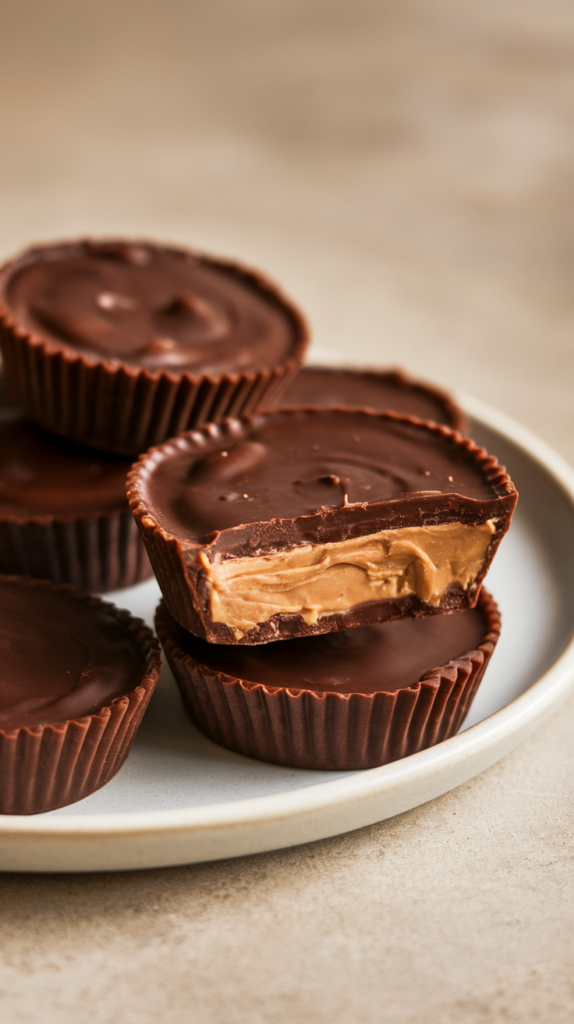
These Vegan Chocolate Peanut Butter Cups are indulgent, bite-sized, and shockingly easy to make at home. Chocolate + peanut butter = unbeatable combo.
Make a batch, stash them in the fridge, and enjoy a little homemade candy anytime. Tiny cups, huge happiness. 🍫🥜