Chocolate Fudge Tray
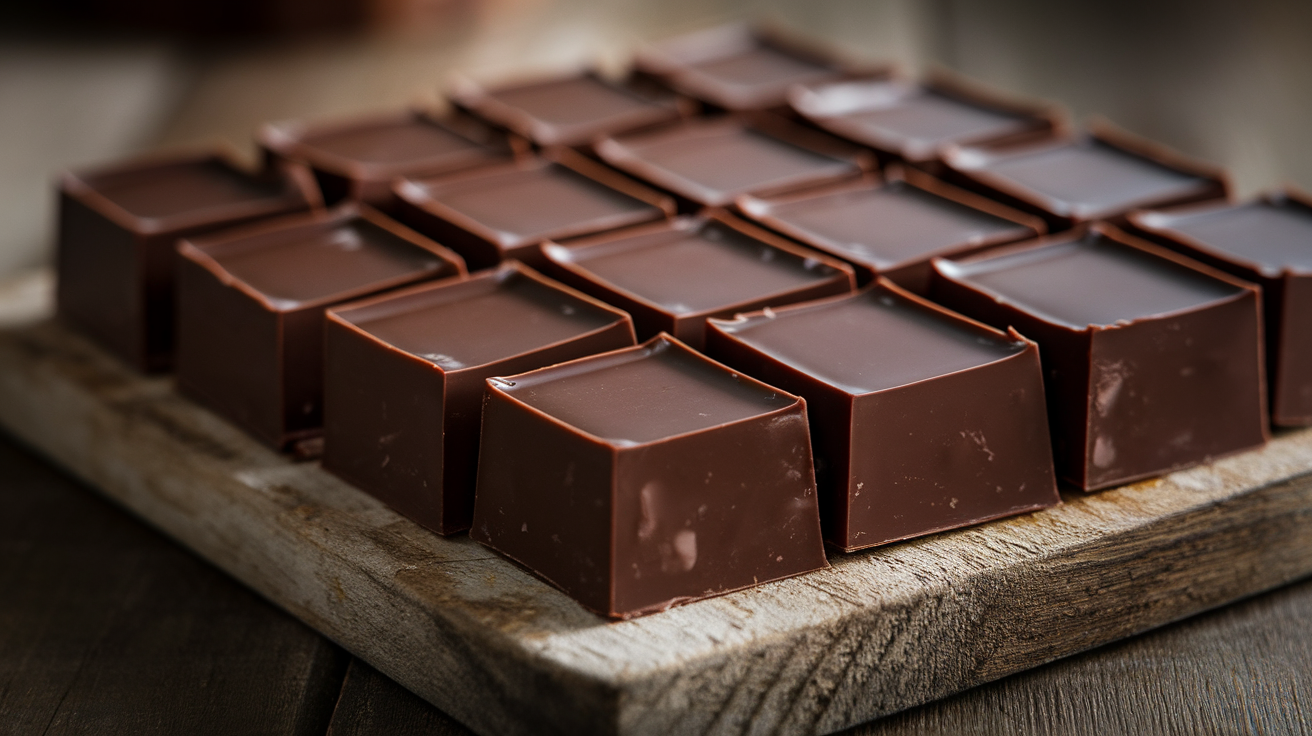
Let’s talk about Chocolate Fudge Tray—the dessert that says, “I may not be a professional baker, but I’m about to ruin everyone’s diet in the best way possible.” Rich, silky, chocolatey, and ridiculously easy, this fudge is perfect for cutting into squares and sharing (or hiding from your family—no judgment).
It’s decadent, crowd-friendly, and basically impossible to resist. Seriously, one bite and people will be hovering around your tray like it’s treasure.
Why This Recipe Is Awesome
First, it’s ridiculously simple. Melt, mix, set, and boom—you’re a chocolate hero.
Second, it’s ultra-rich. Fudge = concentrated chocolate happiness.
Third, it’s perfect for gatherings. Cut into squares, and suddenly you have bite-sized bliss for everyone.
And finally, it’s customizable. Nuts, chocolate chips, caramel drizzle—you name it, fudge can handle it.
Ingredients You’ll Need
- Unsalted butter (½ cup) – Real butter = real flavor
- Sweetened condensed milk (1 can, 14 oz) – Creamy magic
- Semi-sweet chocolate chips (2 cups) – Or a mix of milk + dark
- Vanilla extract (1 tsp) – Subtle, but important
- Optional mix-ins: chopped nuts, mini chocolate chips, marshmallows, sea salt
Bold tip: Line your tray with parchment paper. Fudge sticks otherwise, and nobody wants a sticky spatula fight.
Step-by-Step Instructions
- Prep your tray.
Line an 8×8 or 9×9 pan with parchment paper. Set aside. - Melt butter and chocolate.
In a medium saucepan over low heat, melt butter and chocolate chips together, stirring constantly. Low and slow prevents burning. - Add condensed milk.
Pour in sweetened condensed milk and stir until smooth and glossy. - Add vanilla.
Stir in vanilla extract for that subtle depth of flavor. - Fold in mix-ins (optional).
Nuts, extra chocolate chips, or marshmallows? Fold gently. - Pour into tray.
Spread evenly and smooth the top with a spatula. - Chill to set.
Refrigerate for at least 2–3 hours, until firm. - Cut into squares.
Lift fudge out using parchment paper and slice into bite-sized squares.
Common Mistakes to Avoid
- Overheating chocolate. Low heat = smooth fudge.
- Skipping condensed milk. Dry, crumbly fudge = sad.
- Not lining the tray. Sticky mess guaranteed.
- Cutting too soon. Fudge needs to chill completely.
- Overmixing once set. Gentle is key if folding in extras.
Alternatives & Substitutions
- Dark chocolate only for a richer flavor.
- Milk chocolate only for a sweeter, kid-friendly version.
- Nut-free version? Skip nuts entirely—it’s still amazing.
- Add swirls: Peanut butter, caramel, or white chocolate for flair.
- Mini tray fudge? Perfect for gift boxes or party favors.
IMO, a sprinkle of sea salt on top before chilling elevates it from “yummy” to “irresistible.”
FAQ (Frequently Asked Questions)
Can I make this ahead of time?
Yes! Fudge keeps beautifully in the fridge for up to a week.
Can I freeze it?
Absolutely. Wrap tightly and freeze up to 2 months.
Do I have to use sweetened condensed milk?
Yes—this is what makes it creamy and fudge-y.
Can kids help?
Yes! Just supervise the melting part.
What if my fudge is too soft?
Chill longer. Fudge firms up in the fridge.
Can I add toppings after setting?
Yes! Melted chocolate drizzle or sprinkles work beautifully.
Final Thoughts
A Chocolate Fudge Tray is basically your shortcut to dessert glory. Rich, creamy, chocolate-packed, and totally customizable—it’s perfect for parties, gifting, or just because.
Cut it, serve it, and watch everyone swoon. Bonus: leftovers (if any) make excellent midnight snacks. Chocolate victory achieved.