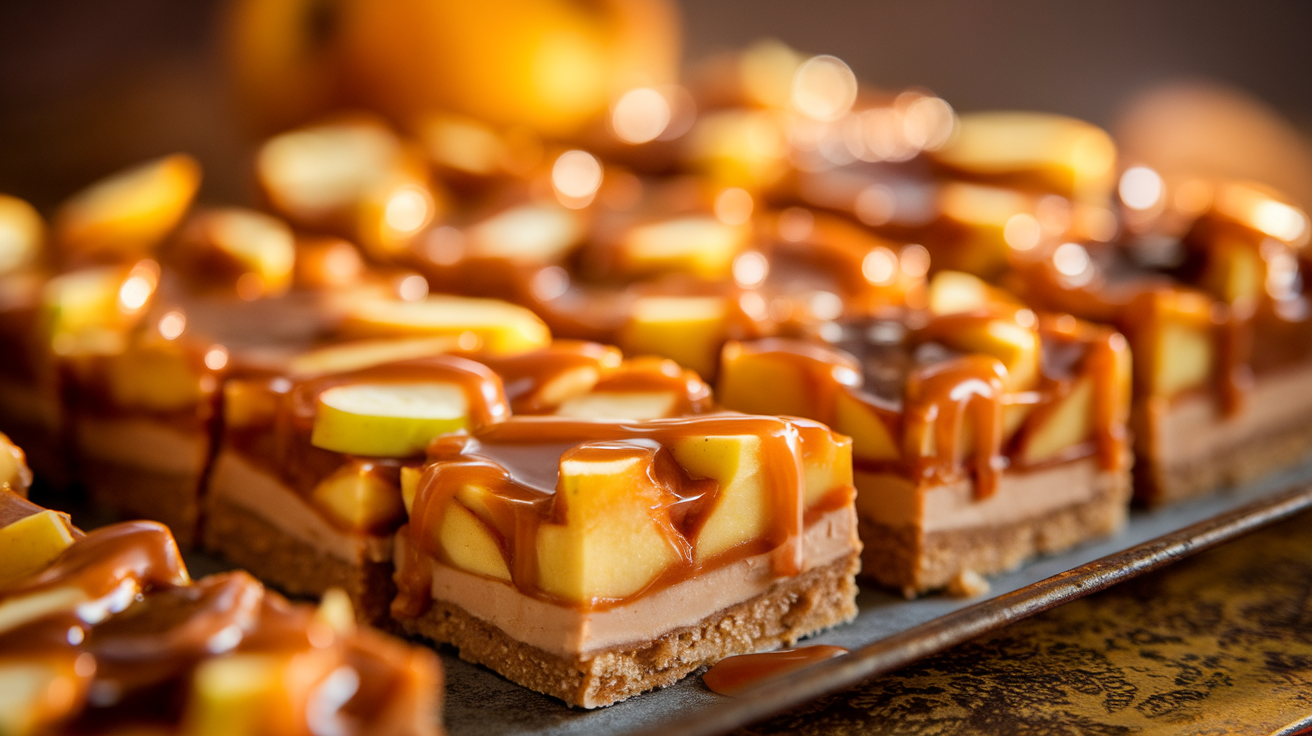
Caramel Apple Dessert Bar Tray
You know that moment when caramel apples look amazing… but eating one feels like a full-body workout? Yeah, this Caramel Apple Dessert Bar Tray solves that problem beautifully. All the cozy fall flavors, none of the jaw-breaking commitment. It’s sweet, gooey, crunchy, and basically autumn on a tray—even if it’s not fall yet.
This is the kind of dessert people hover around at parties, pretending they’re “just looking.”
Why This Recipe Is Awesome
First, it’s built for sharing. One tray feeds a crowd without the chaos of sticky apple sticks.
Second, it delivers maximum flavor with minimal effort. Apples + caramel + crust = instant win.
Third, it’s customizable. Crunchy topping? Extra caramel? Chocolate drizzle? Yes to all.
And finally, it’s comfort dessert energy. Warm, familiar, and impossible to resist.
Ingredients You’ll Need
For the crust:
- All-purpose flour – the sturdy base
- Brown sugar – deep caramel flavor
- Unsalted butter, melted – brings it all together
- Rolled oats – optional, for texture
For the apple layer:
- Apples, peeled and sliced – firm varieties work best
- Granulated sugar – sweetens things up
- Ground cinnamon – cozy vibes
- Nutmeg – optional but recommended
- Lemon juice – keeps apples fresh
For the caramel topping:
- Caramel sauce – store-bought or homemade
- Heavy cream – loosens the caramel
Optional toppings:
- Chopped nuts
- Chocolate chips
- Sea salt – highly encouraged
Step-by-Step Instructions
- Preheat the oven.
Set it to 350°F (175°C). Line a large baking tray with parchment paper. - Make the crust.
Mix flour, brown sugar, oats, and melted butter until crumbly. Press firmly into the tray. - Pre-bake the crust.
Bake for 12–15 minutes until lightly golden. This keeps it from getting soggy. - Prepare the apples.
Toss apple slices with sugar, cinnamon, nutmeg, and lemon juice until coated. - Layer the apples.
Spread apples evenly over the warm crust. No gaps—crowd them in. - Add caramel.
Warm caramel sauce with cream and drizzle generously over the apples. - Bake again.
Return to oven and bake for 25–30 minutes until apples are tender and bubbly. - Cool slightly.
Let it set before slicing. Patience here saves the structure. - Finish strong.
Sprinkle nuts, chocolate chips, or sea salt on top before serving.
Common Mistakes to Avoid
- Using soft apples.
They turn to mush. Choose firm ones. - Skipping the pre-bake.
Soggy crust = instant disappointment. - Too little caramel.
This is not the time for restraint. - Cutting too early.
Hot caramel doesn’t play nice with clean slices. - Overloading toppings.
Balance matters, even in dessert.
Alternatives & Substitutions
Use graham cracker crumbs instead of flour for a shortcut crust.
Swap apples for pears for a softer, floral twist.
Make it dairy-free with vegan butter and coconut caramel.
Add a streusel topping for extra crunch if you’re feeling fancy.
FAQ (Frequently Asked Questions)
How many people does this serve?
Around 15–20, depending on slice size.
Can I make this ahead?
Yes. Bake it a day ahead and reheat slightly before serving.
Best apples to use?
Granny Smith, Honeycrisp, or Fuji work great.
Can I serve it cold?
You can, but warm is where it shines.
Is homemade caramel necessary?
Nope. Store-bought works perfectly fine.
Can I freeze leftovers?
Technically yes, but texture is best fresh.
Final Thoughts
This Caramel Apple Dessert Bar Tray is everything people love about caramel apples—without the mess, the struggle, or the dental risks. It’s cozy, crowd-friendly, and dangerously easy to eat more than one piece. Serve it warm, watch it disappear, and accept your new reputation as the dessert person.
Now grab a plate… and maybe hide one piece for later.