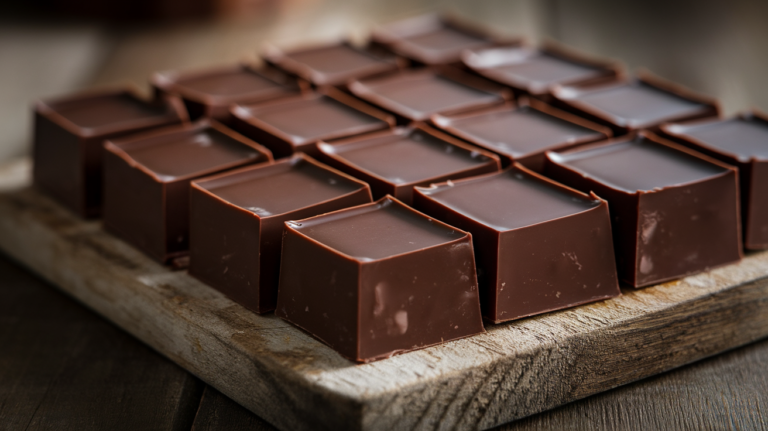
No-Bake Peanut Butter Chocolate Bars
So you want dessert now, not after preheating ovens, timing bakes, and washing five unnecessary bowls? Same. These No-Bake Peanut Butter Chocolate Bars are here for people who love dessert but strongly dislike waiting. They’re rich, chocolatey, dangerously easy, and taste like something you’d buy from a fancy bakery—except you made them in your kitchen with zero oven drama.
If peanut butter and chocolate had a fan club, this recipe would be president.
Why This Recipe Is Awesome
First of all: no baking. Not “low-bake.” Not “quick bake.” Literally no oven involved. Your kitchen stays cool, and your patience stays intact.
Second, it’s idiot-proof. Melt, mix, press, chill. That’s it. If you can stir things together, congratulations—you qualify.
Third, these bars are crowd magnets. Put them on a dessert table and watch how fast they disappear. People love a clean-cut bar they can grab without plates or forks.
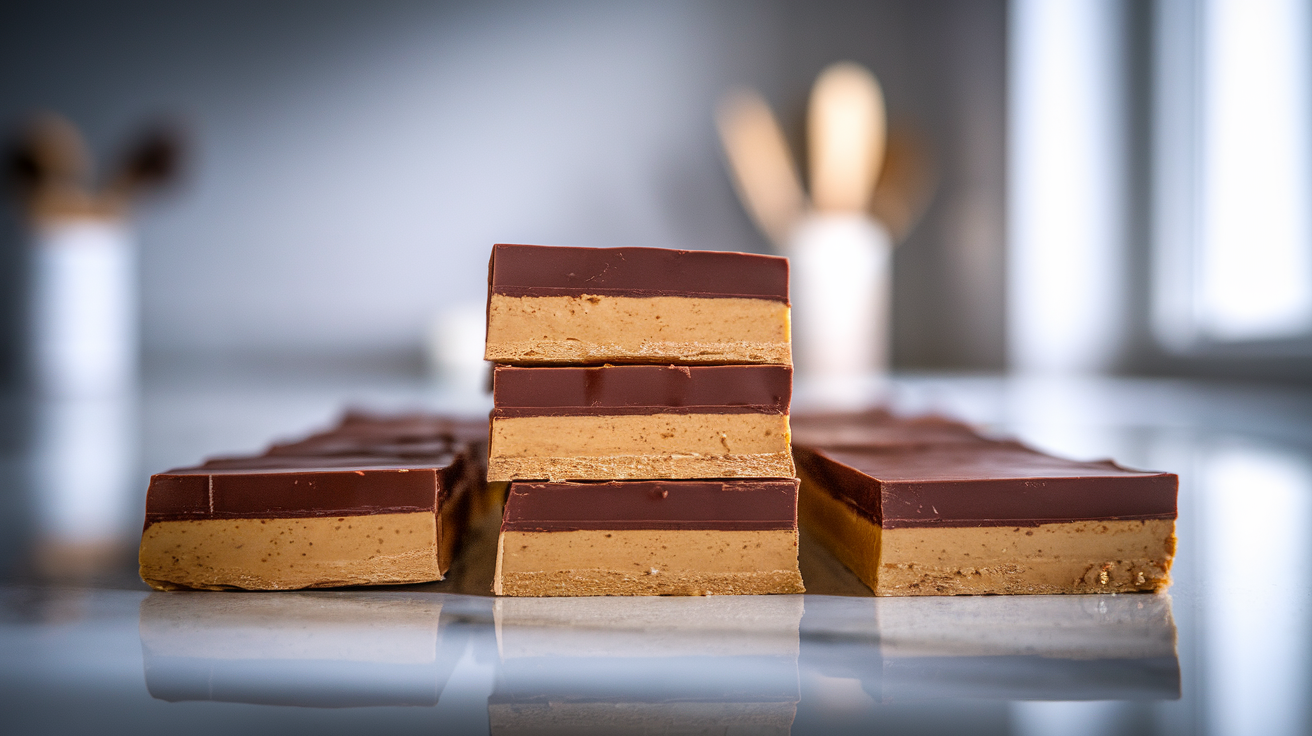
And lastly, the flavor combo? Elite. Creamy peanut butter base + smooth chocolate topping = unbeatable. No notes.
Ingredients You’ll Need
Nothing complicated. No random ingredients you’ll never use again.
For the peanut butter base:
- Creamy peanut butter (1 cup) – Natural works, but stir it well
- Butter (½ cup, melted) – Yes, again with the real butter
- Powdered sugar (1½ cups) – Sweetens and firms everything up
- Graham cracker crumbs (1½ cups) – Structure + nostalgia
For the chocolate topping:
- Semi-sweet chocolate chips (1½ cups) – Milk or dark works too
- Butter (2 tbsp) – Makes the chocolate silky, not stiff
Optional extras:
- Sea salt flakes (for balance and ✨vibes✨)
- Chopped peanuts
- Drizzle of melted white chocolate
Bold tip: Use creamy peanut butter unless you love crumbly bars and regret.
Step-by-Step Instructions
- Prep your pan.
Line a 9×9-inch pan with parchment paper, leaving overhang on the sides. This is your easy-removal insurance policy. - Make the peanut butter base.
In a bowl, mix peanut butter and melted butter until smooth. Add powdered sugar and graham cracker crumbs. Stir until thick and uniform. - Press it in.
Transfer the mixture to your pan and press it down firmly and evenly. Use the back of a spoon or your hands. Commit to it. - Melt the chocolate.
Combine chocolate chips and butter in a microwave-safe bowl. Heat in 20–30 second bursts, stirring until smooth. - Spread the topping.
Pour melted chocolate over the peanut butter layer. Spread evenly to the edges like a responsible adult. - Add extras (optional but fun).
Sprinkle sea salt, peanuts, or drizzle white chocolate while the topping is still soft. - Chill.
Refrigerate for at least 2 hours, or until firm. This is not the time to rush. - Slice and serve.
Lift out using parchment, cut into bars or squares, and try not to eat half immediately.
Common Mistakes to Avoid
- Using warm peanut butter base. Let melted butter cool slightly or the base gets greasy.
- Skipping parchment paper. Enjoy prying bars out of a pan? Didn’t think so.
- Overheating chocolate. Burnt chocolate ruins everything. Low and slow.
- Cutting before chilling. You’ll get a chocolate-peanut butter landslide.
- Using chunky peanut butter unknowingly. Texture surprise = not always fun.
Alternatives & Substitutions
- Gluten-free? Use GF graham crackers. Easy win.
- Dairy-free? Swap butter for coconut oil and use dairy-free chocolate chips. Still amazing.
- Extra chocolate lover? Add a thin chocolate layer on the bottom too. Go big.
- Healthier-ish version? Reduce powdered sugar slightly and use dark chocolate. Balance is relative.
- Nut-free? Use sunflower seed butter. Flavor changes, but it works.
Personal opinion: a light sprinkle of flaky sea salt on top takes these from “good” to “why didn’t I make more?”
FAQ (Frequently Asked Questions)
Do these really not need baking?
Correct. Zero oven. Maximum payoff.
How long do they last?
Up to 5 days in the fridge in an airtight container. If they last longer than 48 hours, that’s impressive.
Can I freeze them?
Yes! Freeze sliced bars for up to 2 months. Thaw slightly before serving.
Why is my base too crumbly?
Too many crumbs or not enough peanut butter. Add a spoonful of peanut butter and press again.
Can I use almond butter instead?
Absolutely. Flavor will change, but still delicious.
Do I need to refrigerate before serving?
Yes. They’re meant to be chilled. Room temp = soft chaos.
Final Thoughts
These No-Bake Peanut Butter Chocolate Bars are everything a dessert should be: easy, indulgent, and wildly addictive. They don’t ask much from you, but they give a lot in return.
Make them for parties, potlucks, or late-night cravings when baking feels illegal. Once you try them, they’ll become a permanent part of your dessert rotation.
Now go slice yourself a bar—or three. You’ve earned it.